The "Before" pictures keep loading as pix of my parents yard and my brother, which are nice, but not helpful.
So, skipping directly into the project:
Here is a super fast journey of where we started and where we are now.
We will focus on the back wall, step by step:

Removing the cabinets and cupboards, and revealing the cracked, nasty plaster below.
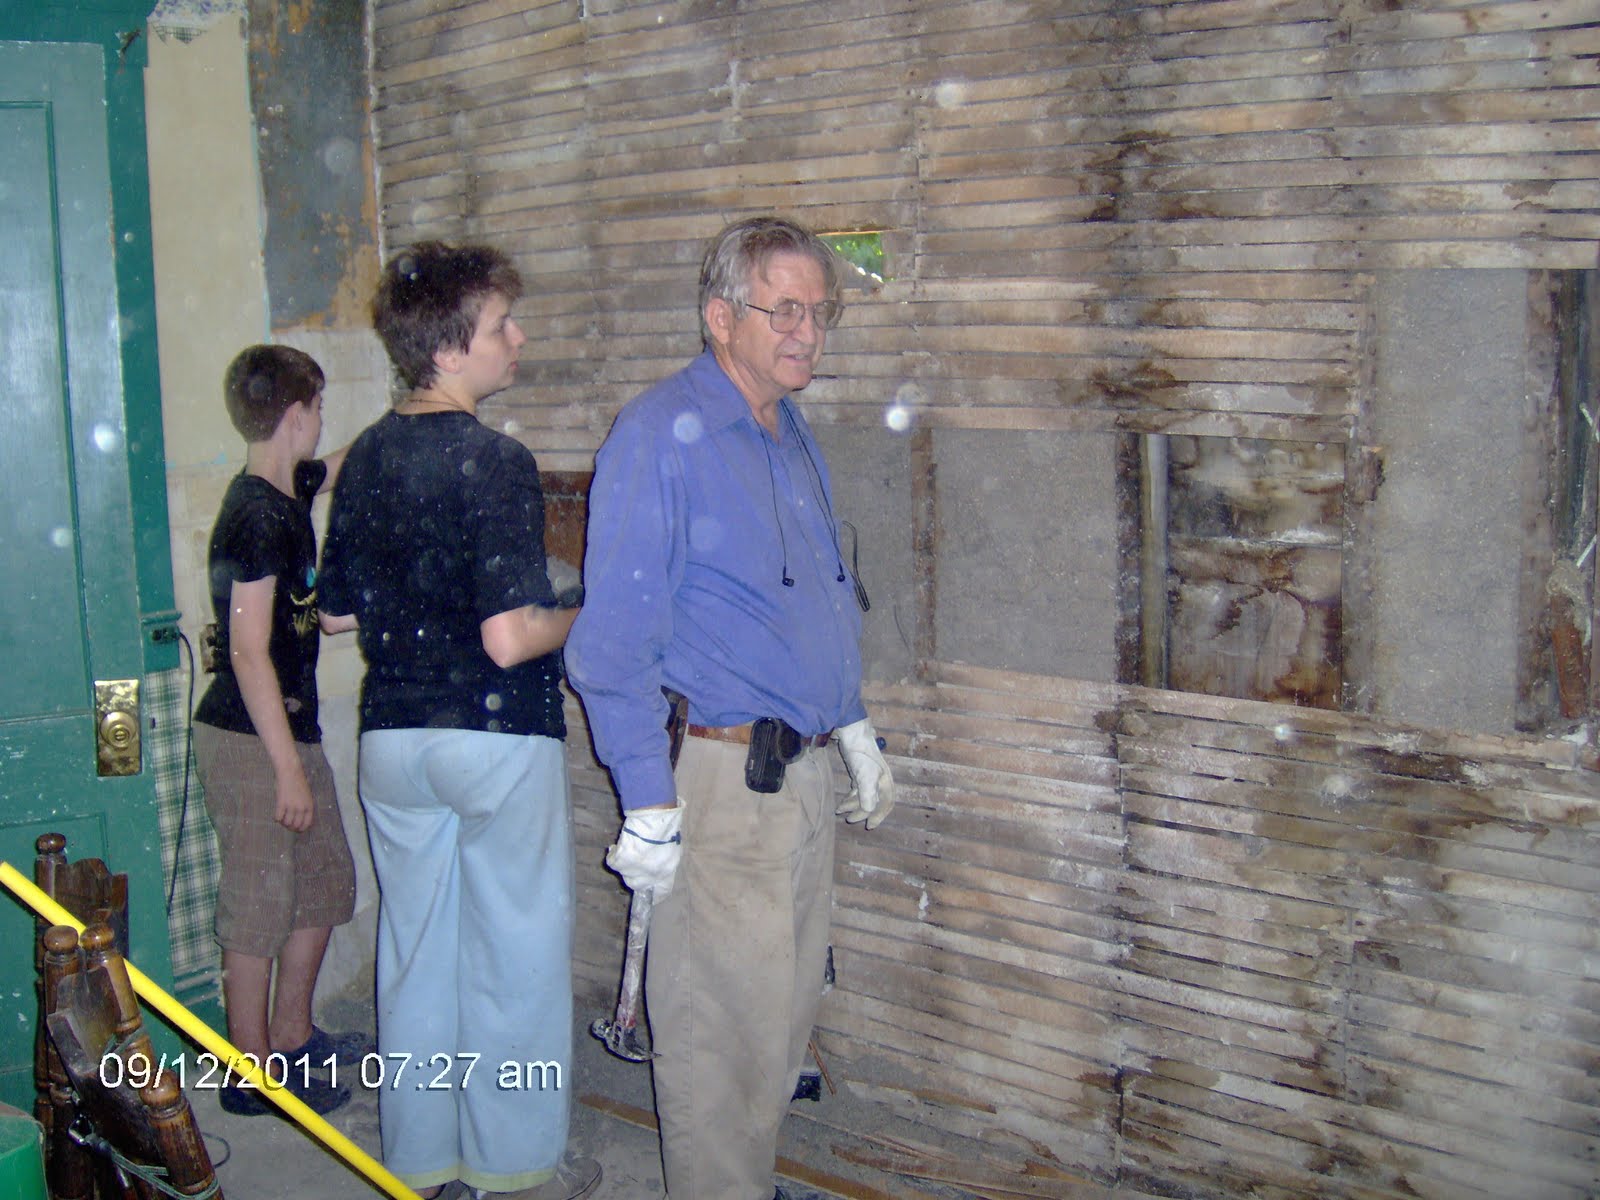
Removing the plaster! To quote my dad: "Don't force it--just get a bigger hammer!"

After we took off the plaster, then we had to take off the lathe (one at a time, and pull every !@#$%^&* nail), then we had to remove all of the nasty shredded paper insulation (the gray stuff that is visible between some of the studs--also the fluff that is on the camera lens in some shots!)

Putting up the Tyvek moisture barrier, and the wiring (which is not exciting to look at, but wonderful for me!

INSULATION!

DRYWALL! Ironically, the "greenboard" (which is moisture and mold resistant) is almost exactly the same weird shade as the trim (and the dining room).

Cupboards!
The rest of the pix seem to have disappeared into the ether, so...stay tuned!


So exciting to see your kitchen transformation!
ReplyDelete